

Getting started
Configure your first communication template
A template is a message you write once and reach for again and again — a welcome note, a renewal reminder, a friendly "we miss you." Write it with merge fields and every member sees their own name, so it reads personal even when you send it to hundreds of people.
Create a template
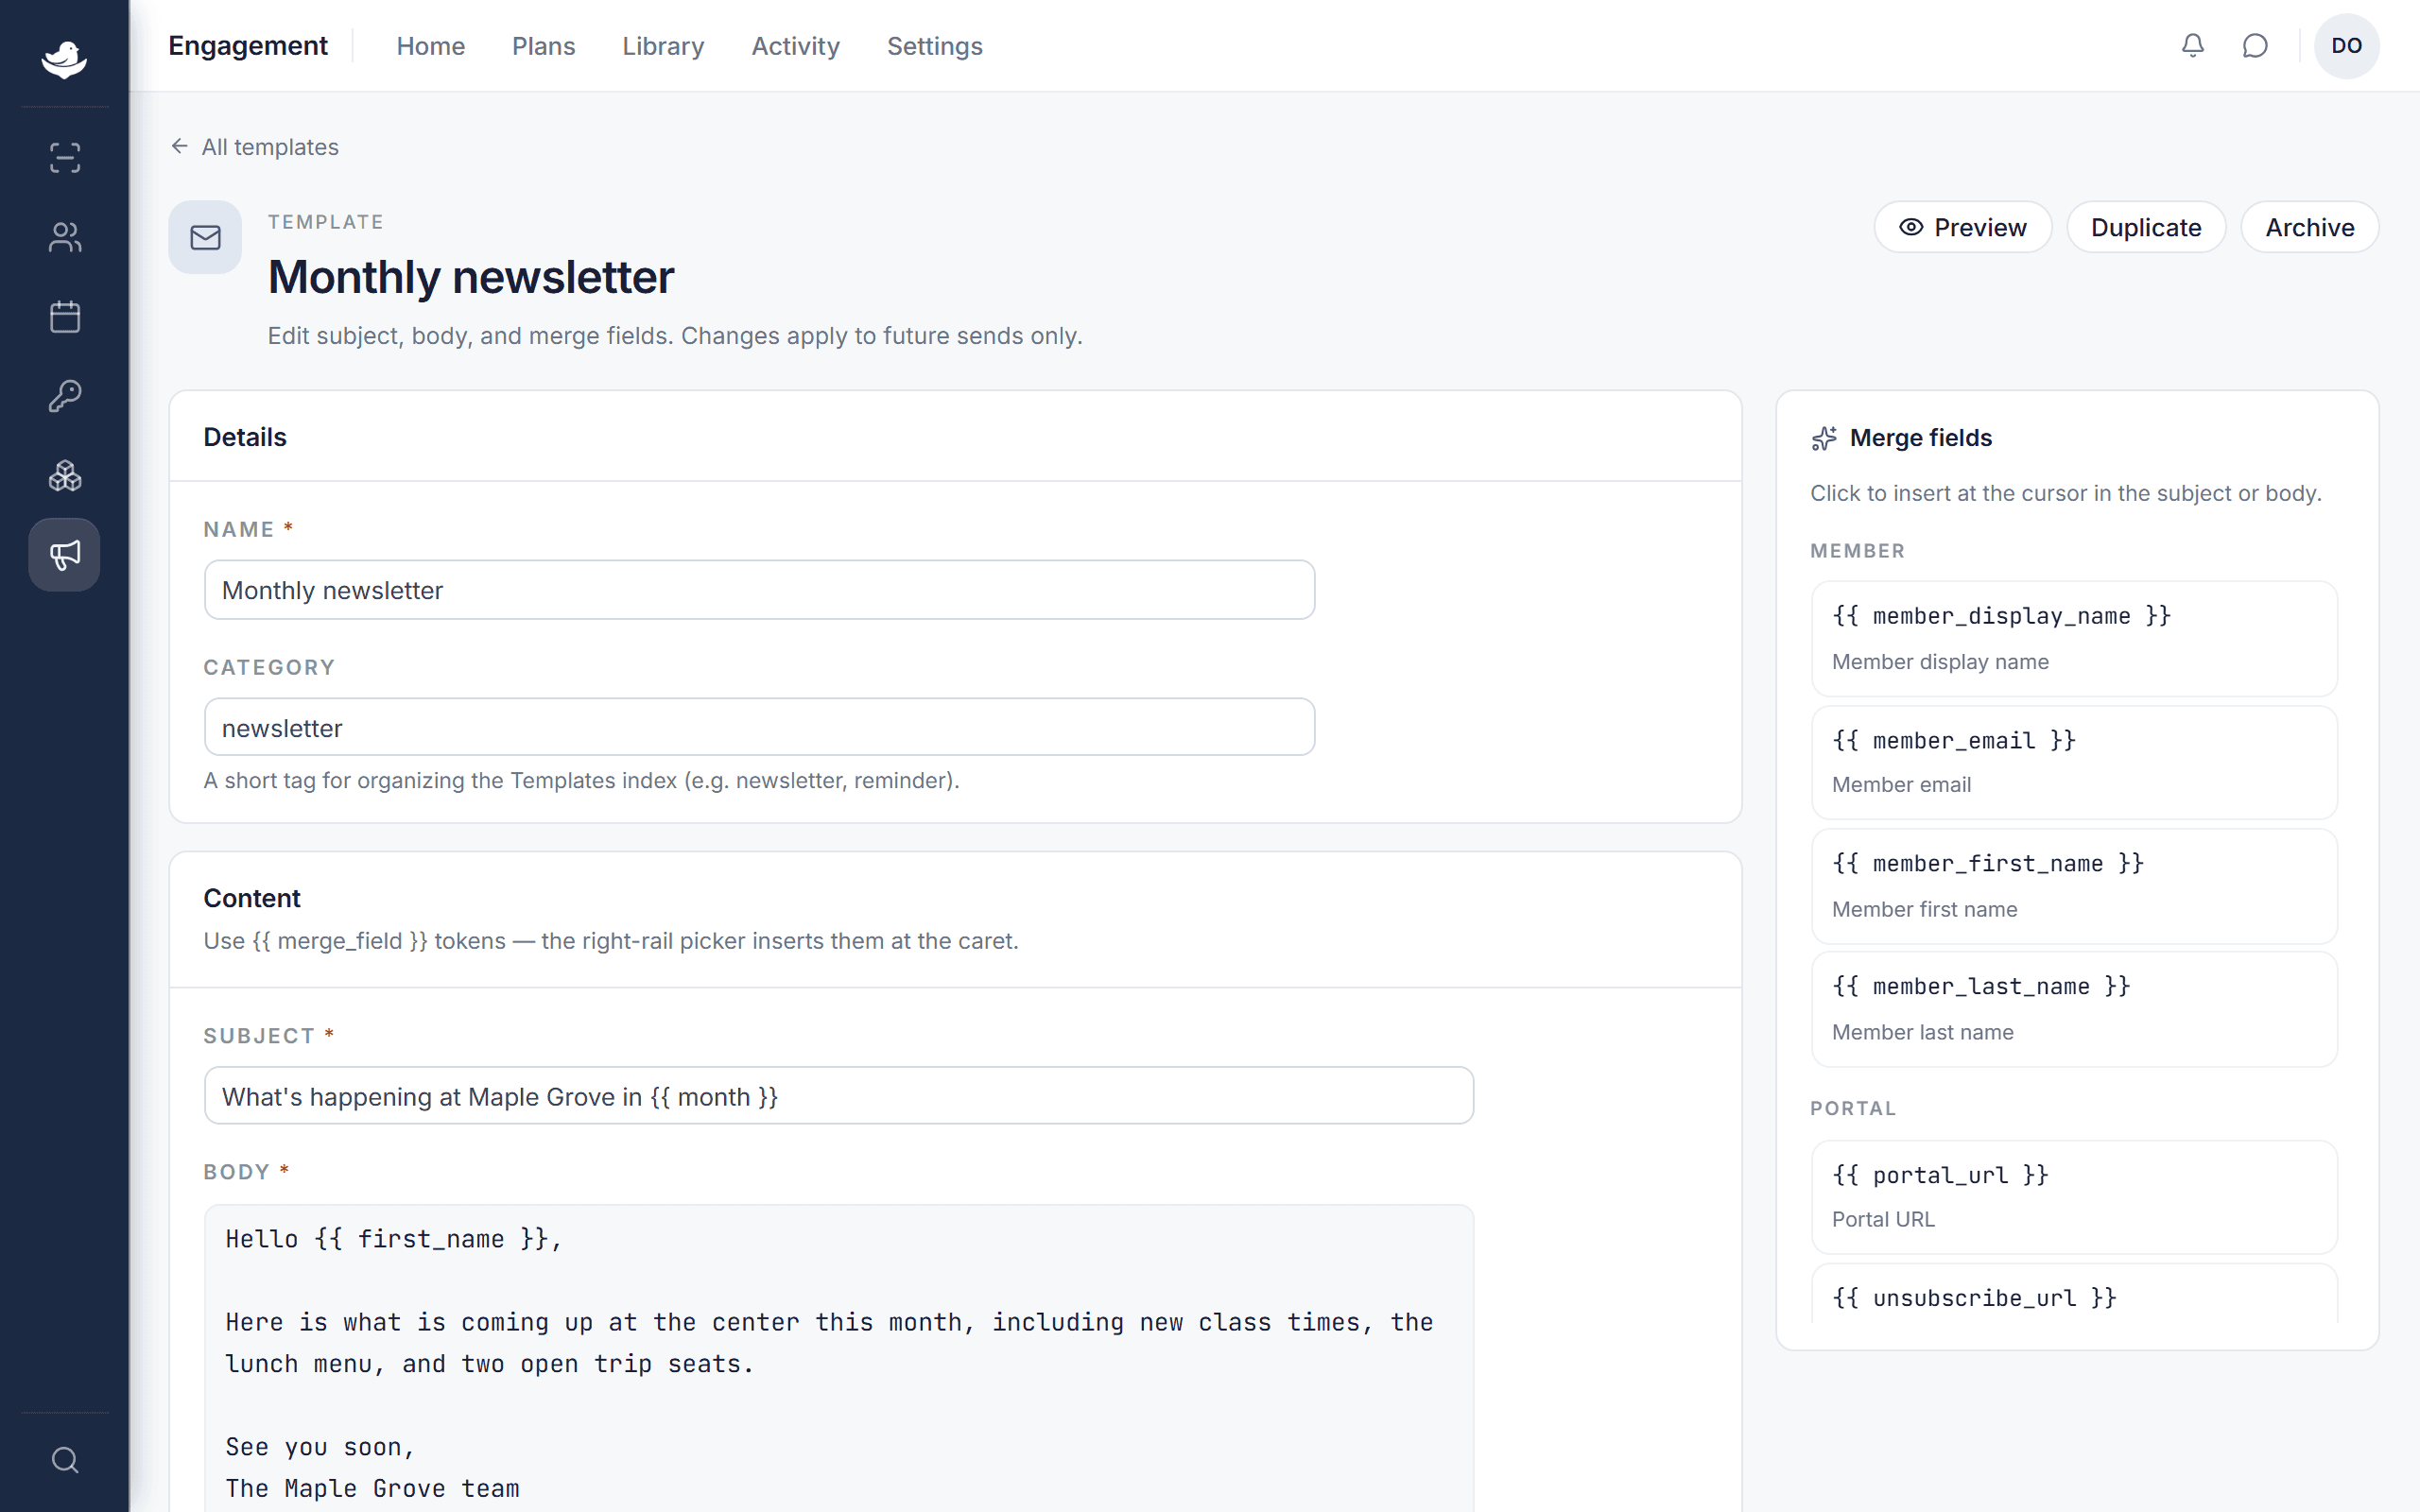
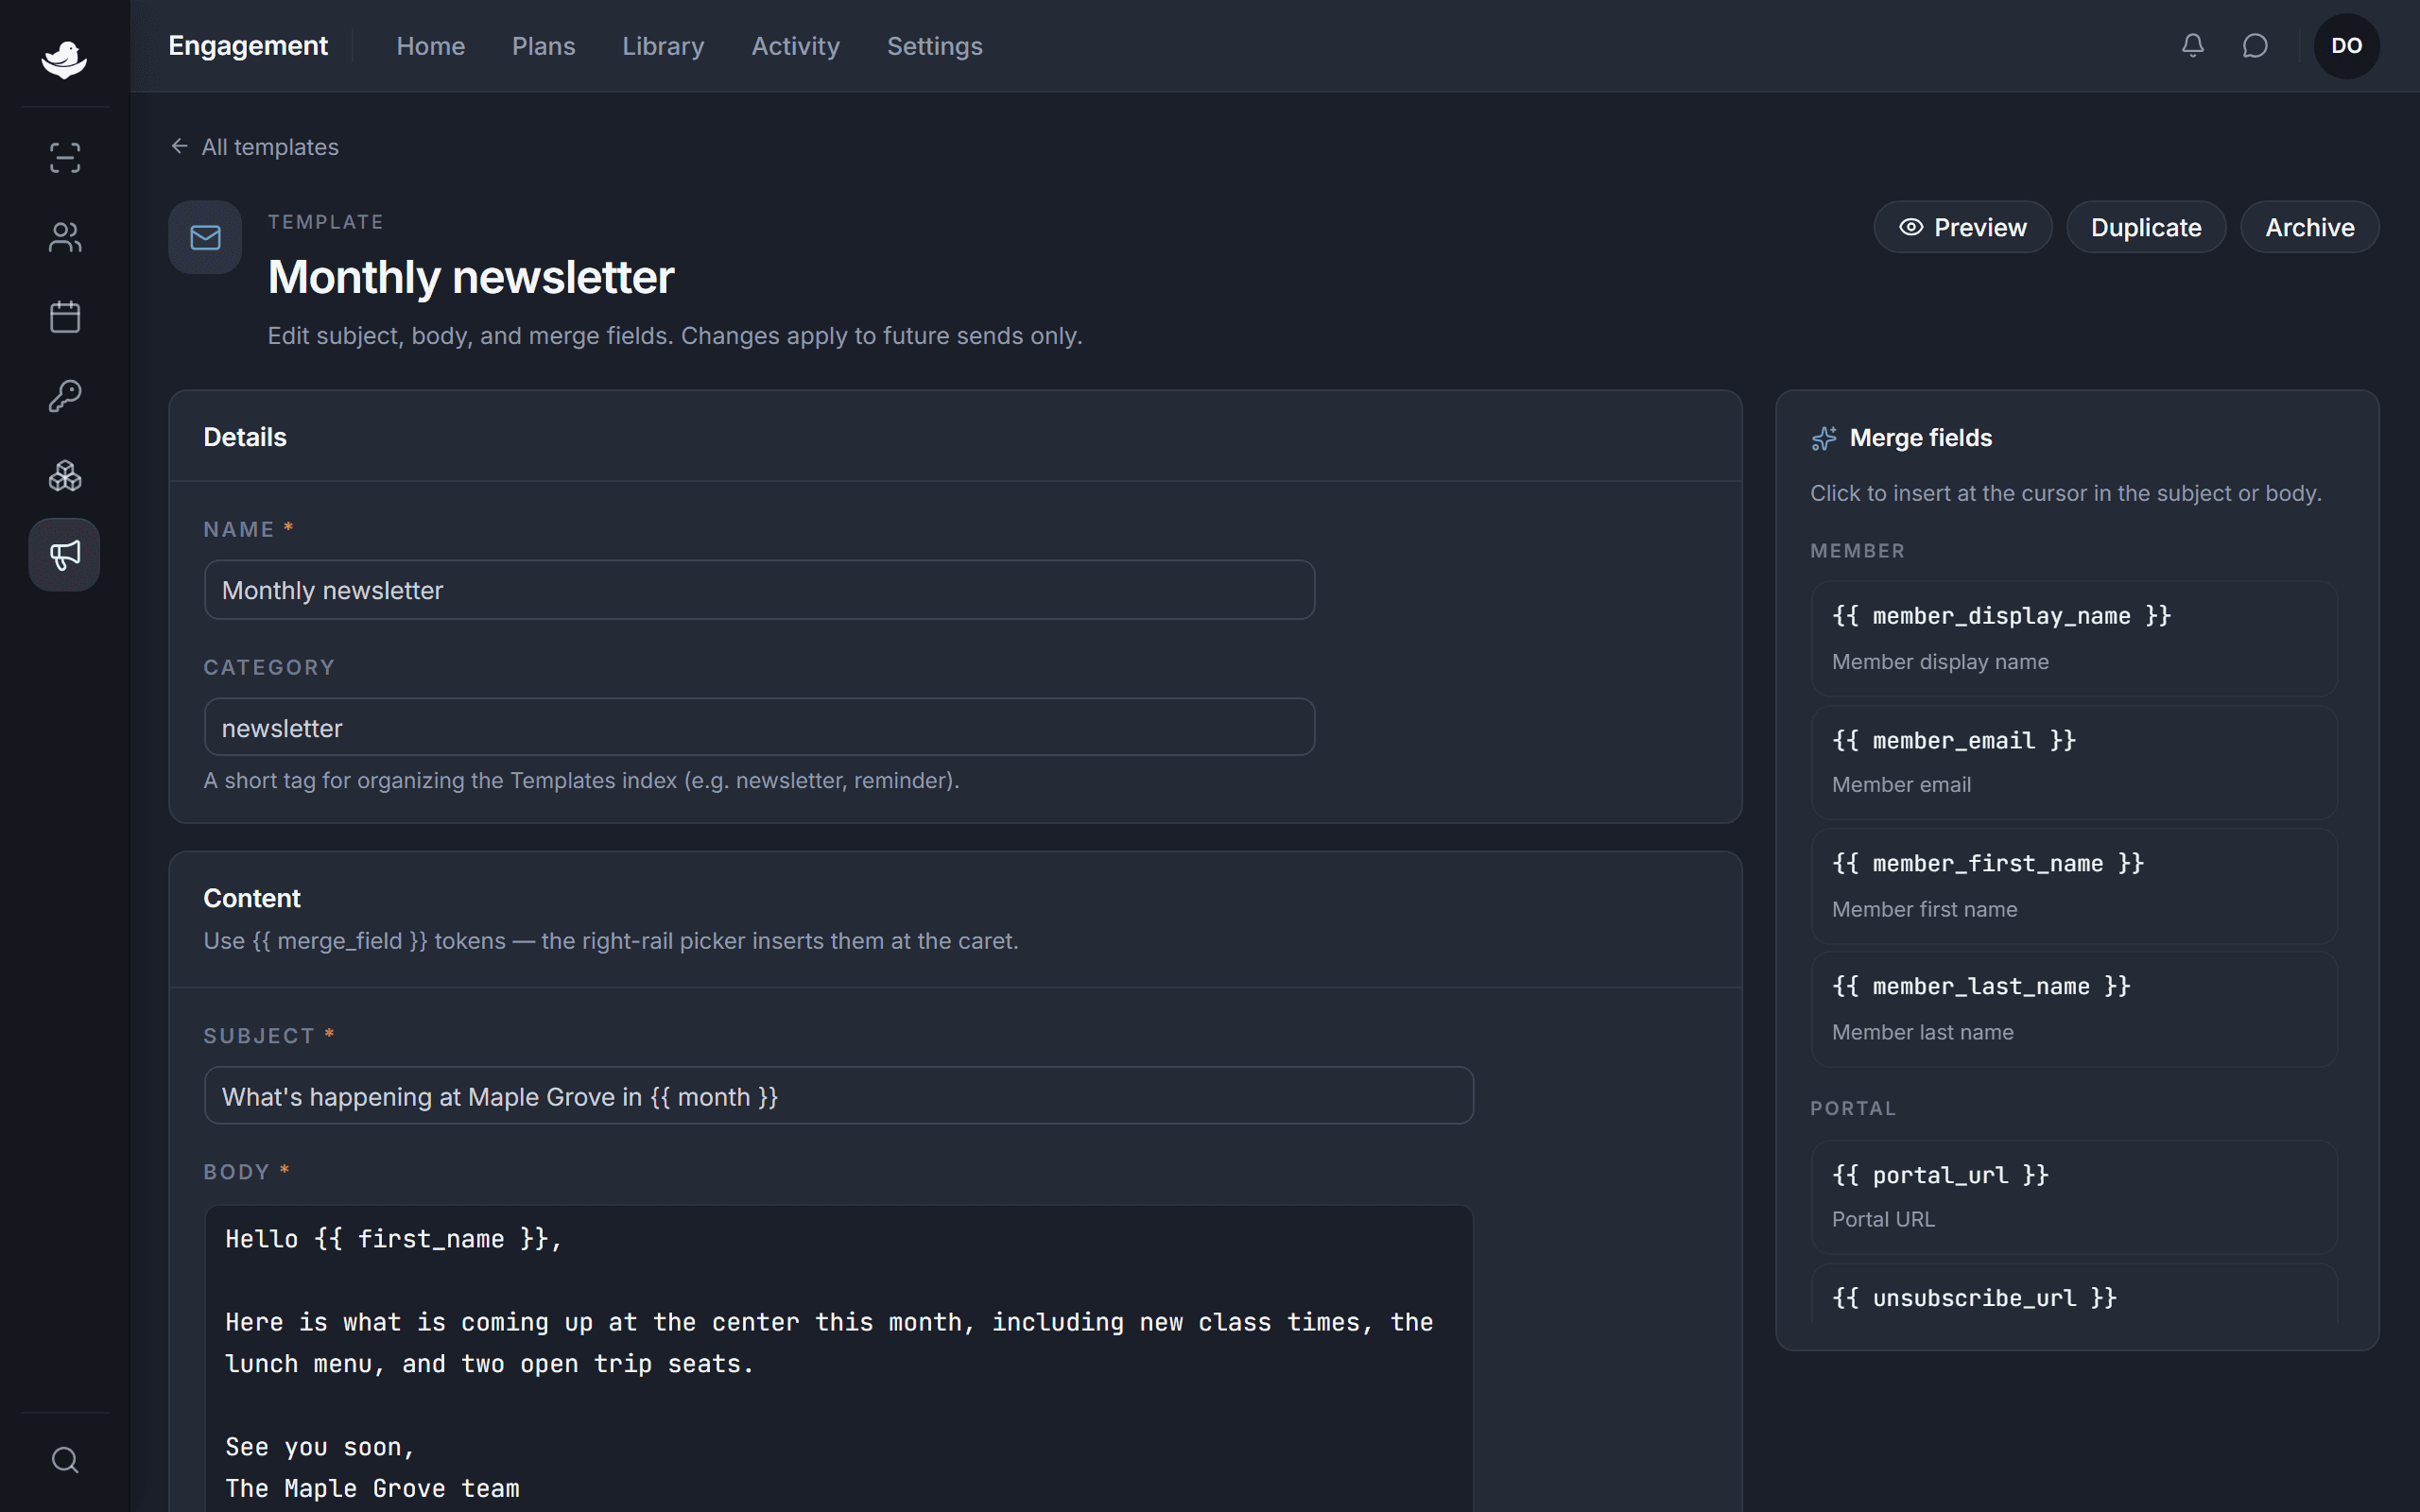
Go to Engagement, open Templates, and choose New template. Give it a clear Name you'll recognize later — something like "Re-engagement (60 days)" — and, if you like, a Category to group it with similar messages. Then write your Subject and Body.
Make it personal with merge fields
Instead of "Hi there," drop in a merge field so each person sees their own name. The picker on the right lists what you can insert — pick member_first_name and it drops {{ member_first_name }} in at your cursor. At send time, NestPoint swaps each token for that member's real details. Sign off with {{ workspace_name }} and the message reads like you wrote it just for them.
Preview, then save
Before you save, switch on Preview to see the message with sample values filled in — so those tokens read like a real name and a real sign-off instead of curly braces. Toggle back to Editing to make changes, and save when it reads the way you'd want to receive it.
That's it — your template is saved and ready. From here you can reach for it whenever you send to a group of members, so the writing is already done.