

Features · Trips · Setup
Create a trip
A trip is a planned group outing — a beach day, a museum visit, a retreat. You create it once with its schedule, capacity, and cost, then manage the roster from there.
Start a new trip
On Trips, press New trip.
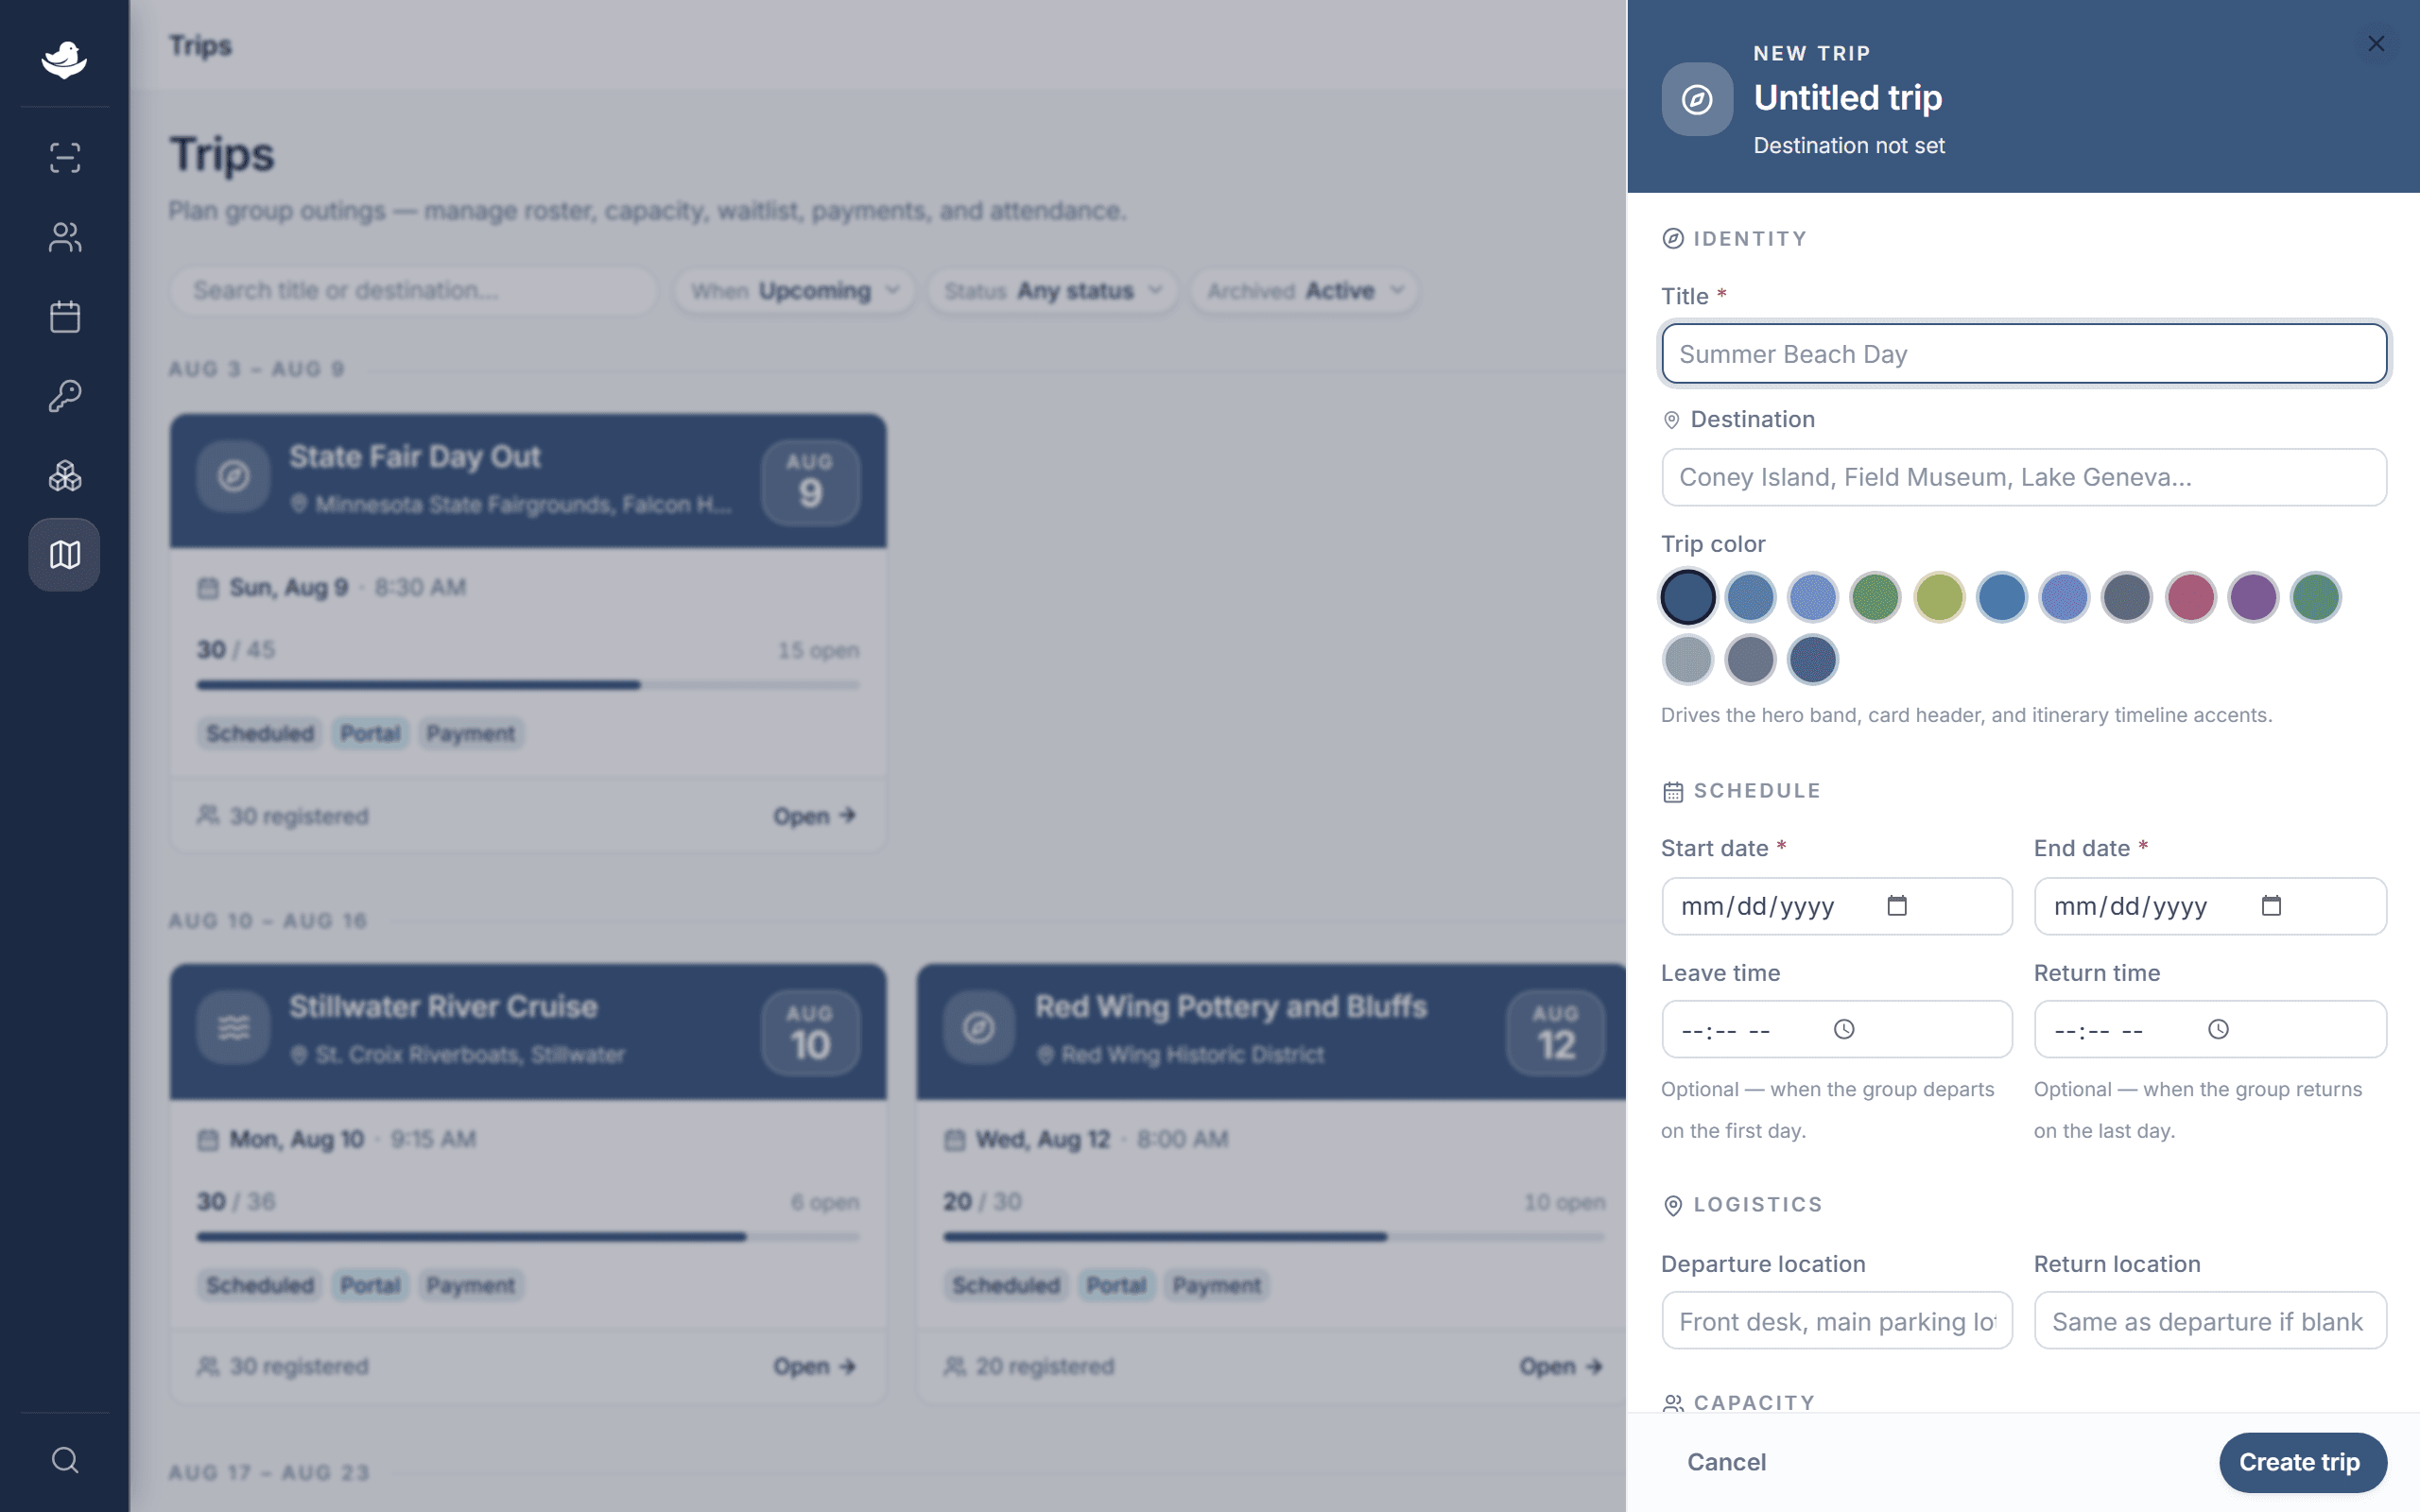
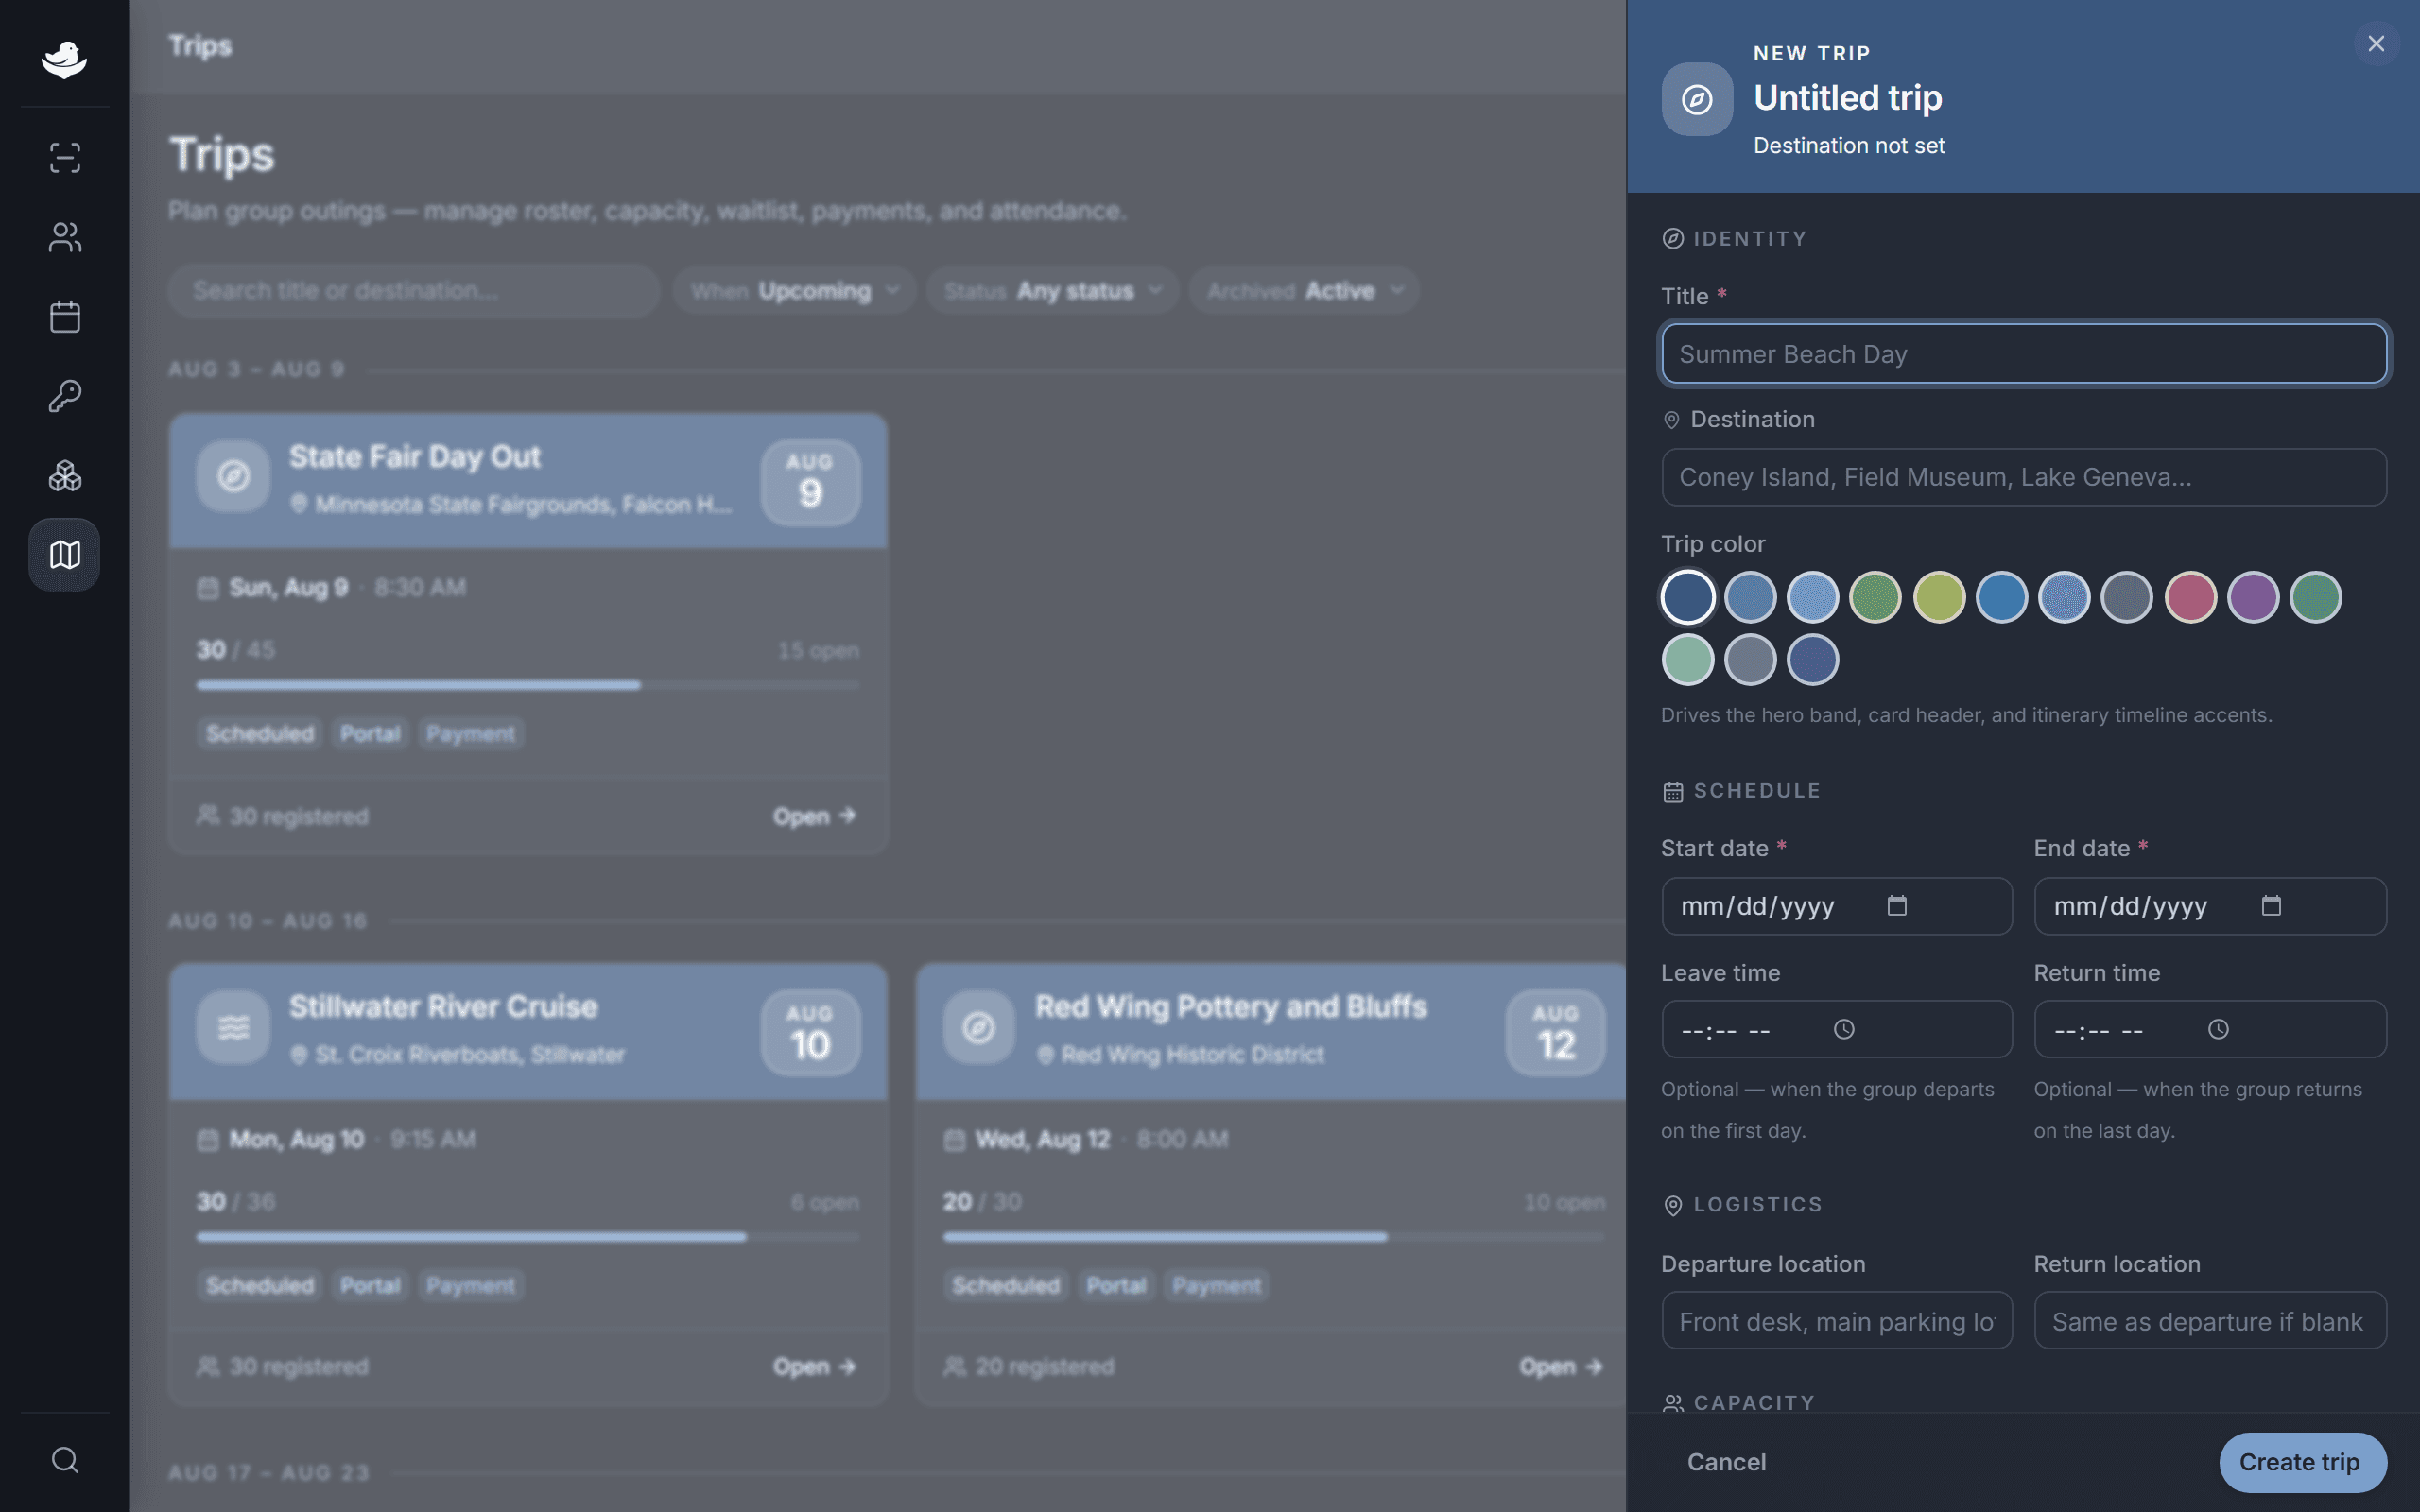
One drawer holds the whole trip — scroll through each section. Under Identity, give it a Title, an optional Destination, and a Trip color.
The color runs through the trip's hero band and timeline, so pick something you'll recognize at a glance.
Set the schedule and logistics
Under Schedule, set Starts at and Ends at.
If the end is before the start you'll see End must be on or after start.
Under Logistics, add a Departure location and Return location if they help. Leave the return blank to reuse the departure.
Cap the size
Under Capacity, set a Capacity — leave it blank for unlimited. Allow waitlist is on by default, so once the trip is full, extra sign-ups queue and auto-promote when a spot opens. Set a Waitlist capacity to cap that queue too.
Add a cost (optional)
Under Payment, set a Price (cents) — 0 for free. Turn on Payment required to mark each sign-up as owing the fee; staff can still record a waiver per person later.
Describe it
Public description is a staff-safe summary, and what portal members see once the trip is published. Internal notes stay staff-only and never reach the portal.
Create it
Press Create trip. You'll see Trip "{title}" created. and land on the trip's page.